
If you’re missing a tooth (or a few), dental implants are one of the most reliable ways to restore your smile and bite. But knowing what to expect during the dental implant process can feel like a big unknown. How long does it take? Will it hurt? How many visits are involved? This guide walks you through every stage, from the first consultation to the day your final crown is placed, so you know exactly what to expect.
Introduction: Your Dental Implant Process Explained
Quick answer: The dental implant process typically involves six stages spread across 3 to 9 months. Most of that time is spent healing, not sitting in a dental chair. You’ll have a consultation, possibly some preparatory work, the implant placement surgery, a bone-fusion period, an abutment placement, and finally your custom crown.
Dental implants have become a leading tooth replacement option because they look, feel, and function like natural teeth. They also help preserve your jawbone, something bridges and dentures can’t do on their own.
We know the biggest worries usually come down to three things: discomfort, cost, and time. This guide addresses each one honestly. You’ll learn what actually happens at every visit, what you’ll feel (spoiler: modern anesthesia keeps things very comfortable), and how to plan around the timeline.

Step 1: Initial Consultation and Treatment Planning
Your first visit is all about information. Nothing is done to your teeth on this day. Instead, our Glenview dentists will get a full picture of your oral health and design a plan built around your specific needs.
What happens at a dental implant consultation?
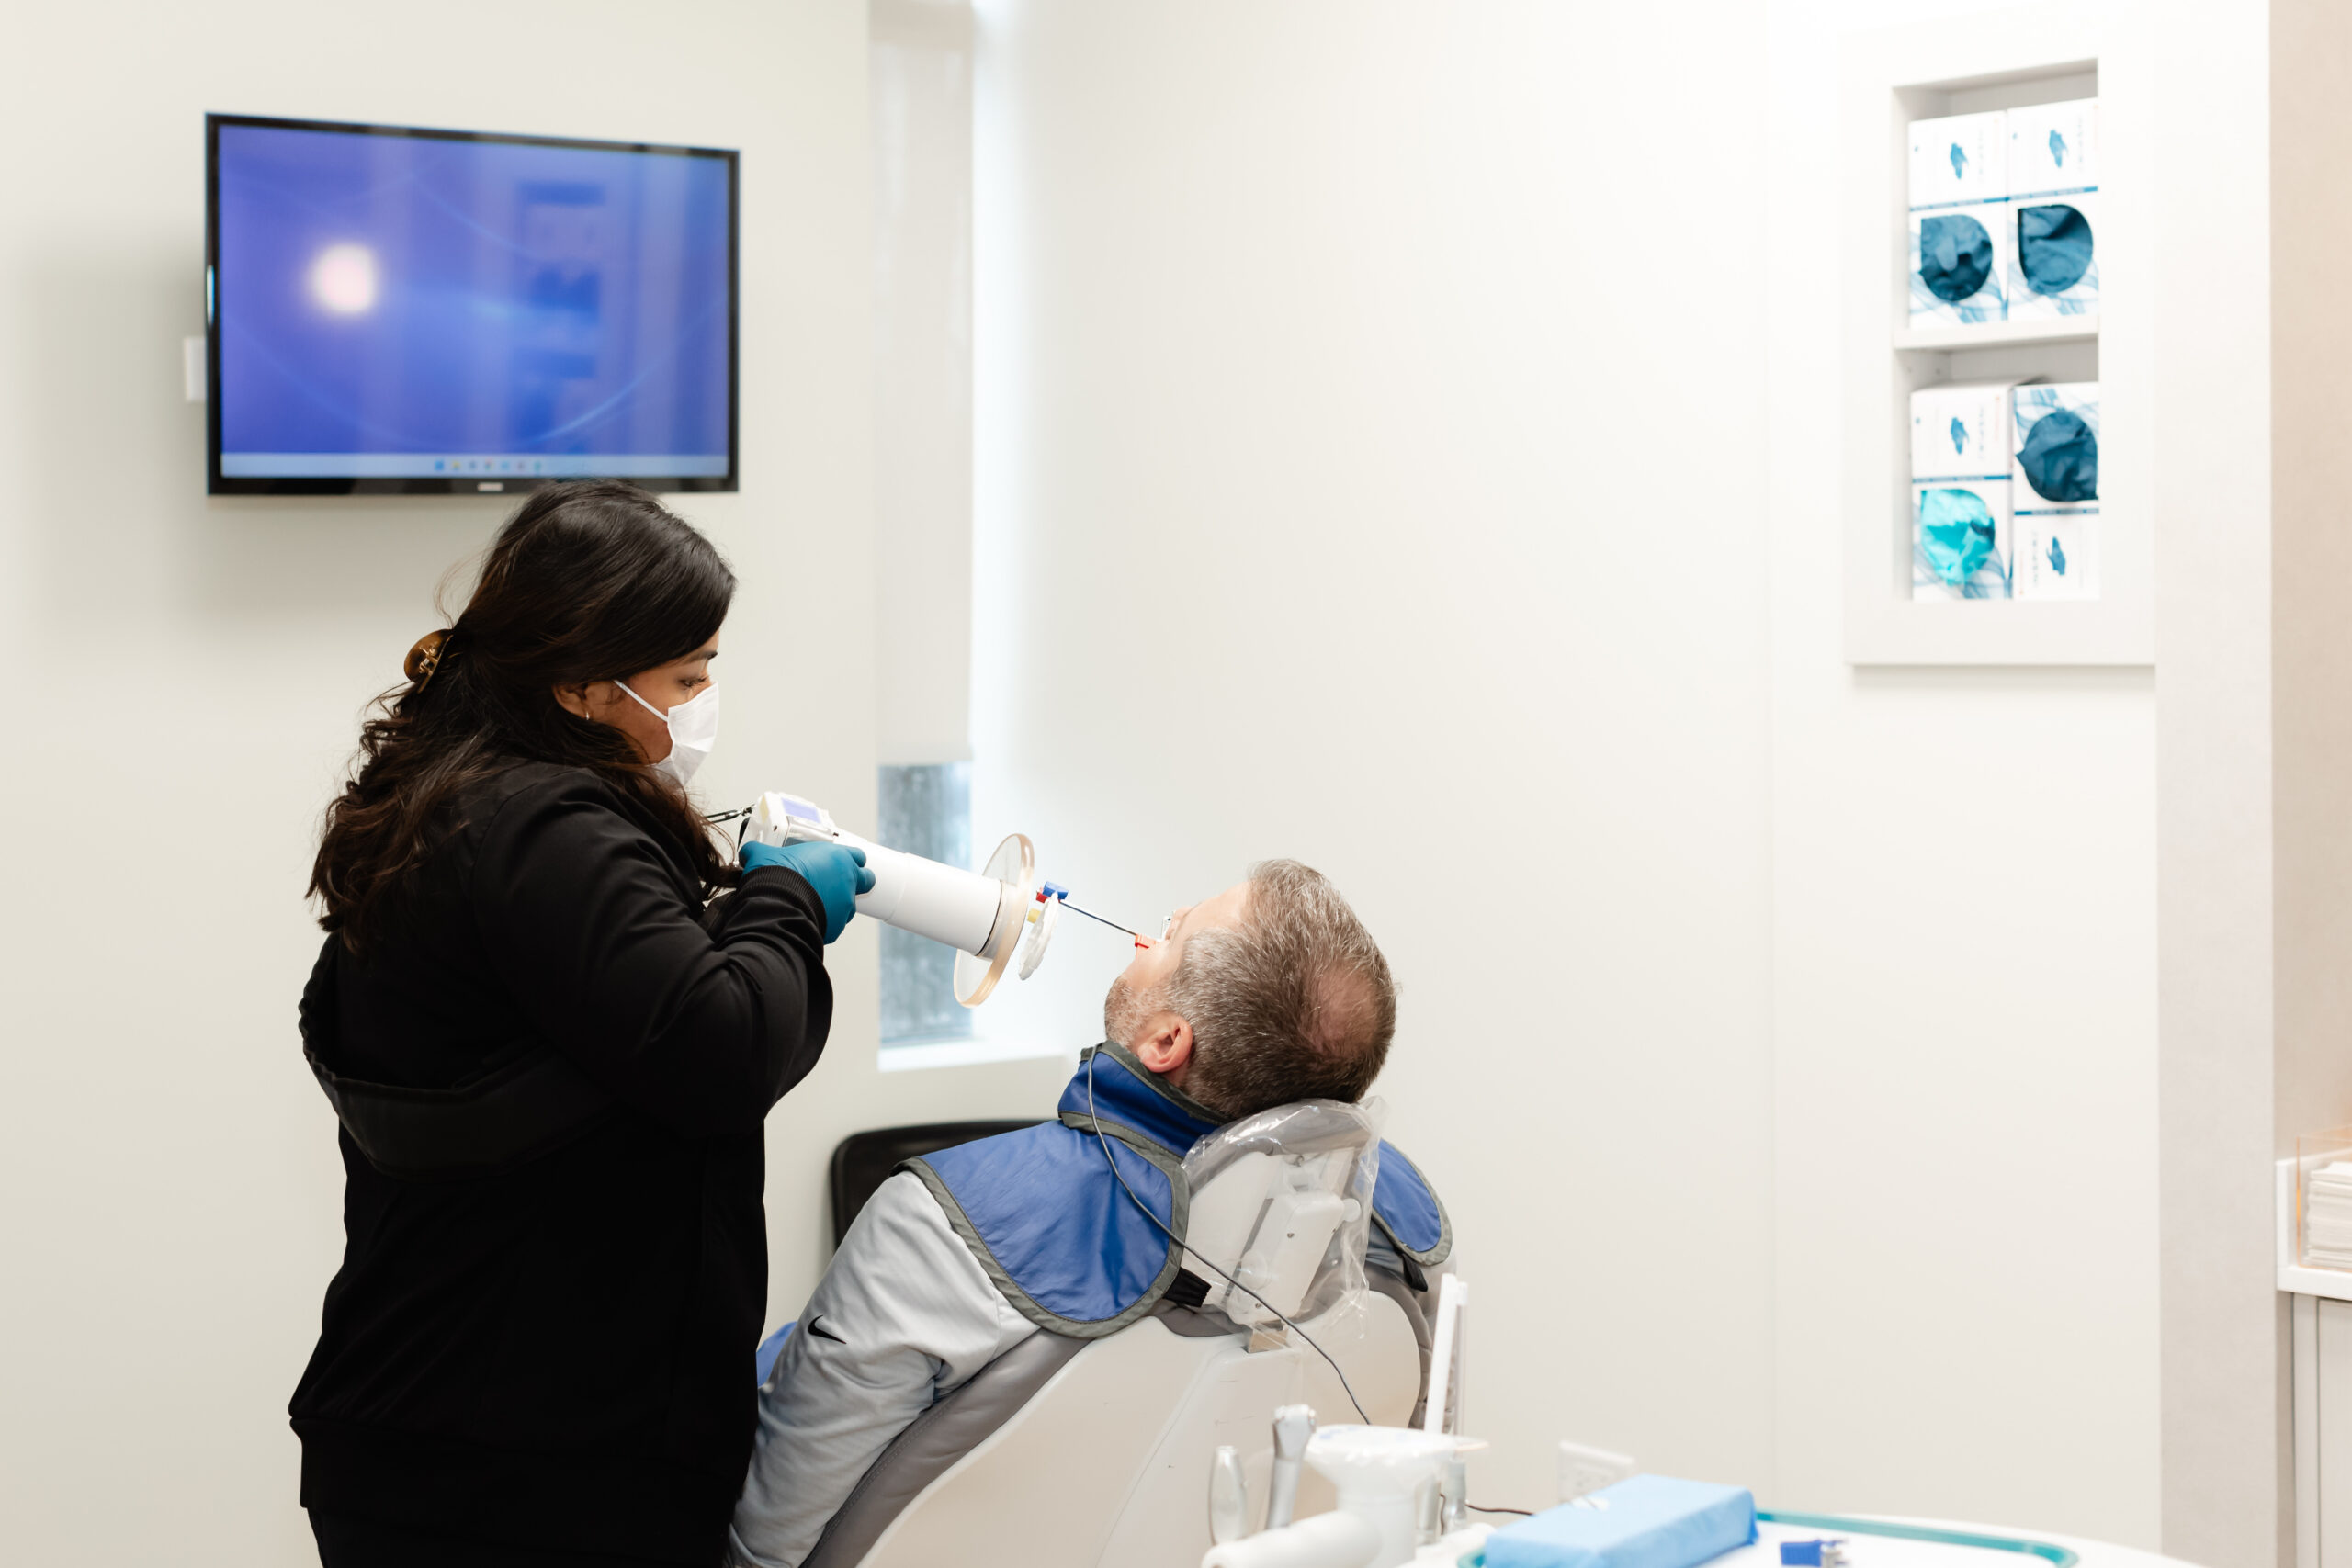
Expect a thorough oral exam, digital X-rays, and often 3D CBCT imaging, which gives a detailed view of your jawbone, nerves, and sinuses. Your dentist will also review your medical history, current medications, and any conditions that might affect healing.
From there, the conversation covers:
- Whether you’re a good candidate for dental implants
- Your bone density and gum health
- A personalized treatment plan and timeline
- Cost, insurance, and financing options
What to bring:
- Your insurance card or benefits info
- A list of medications and supplements
- A written list of questions (bring them all)
- Records from previous dentists, if you have them
Plan on 60 to 90 minutes for this visit. You’ll leave with a clear plan for next steps.
Step 2: Preparatory Procedures (Extractions and Bone Grafting)
Not everyone needs preparatory work, but many do. If a damaged tooth is still in place, it will need to be removed. If your jawbone has lost density in the implant area, a bone graft may be recommended before placement. Learn more about bone grafts and when they’re needed.
Do I need a bone graft?
Maybe. Bone loss happens naturally after a tooth has been missing for a while, and implants need a solid foundation to succeed. Your CBCT scan tells the story. If your bone is too thin or soft, a graft rebuilds the area using natural or synthetic material. Healing takes about 3 to 6 months before the implant can go in.
For upper back teeth, a sinus lift is sometimes needed. This gently raises the sinus floor to create room for the implant.
What you’ll feel: with local anesthesia (and sedation if you’d like), these procedures involve mild pressure only. No sharp discomfort. Recovery is usually manageable with over-the-counter medication and a soft diet for a few days.
These steps do extend the overall timeline, but they’re what set your implant up for long-term success.
Step 3: Dental Implant Placement Surgery and Recovery
This is the appointment most people worry about the most, and it’s almost always easier than expected.
Before surgery, you’ll choose your anesthesia and sedation approach. Options include:
- Local anesthesia to numb the area
- Nitrous oxide for gentle relaxation
- Oral or IV sedation for deeper calm
Here’s the general step-by-step for placement:
- The area is fully numbed and sedation begins if you’ve chosen it.
- A small incision is made in the gum to expose the jawbone.
- A pilot channel is created for the implant post.
- The titanium implant post is carefully placed into the bone.
- The gum is closed with sutures, and a protective cap is placed.
Most single-implant surgeries take 1 to 2 hours. During the procedure, you may feel light pressure or vibration, but not sharp discomfort. Many Glenview patients tell us afterward they can’t believe it’s already done.
Some cases qualify for a same-day implant approach, where a temporary tooth is attached the same visit. Traditional implants use a healing cap during the fusion phase. Your dentist will recommend the right route for your situation.
Step 4: Osseointegration and the Healing Phase
Osseointegration is the natural process where your jawbone grows around and fuses to the titanium implant, locking it in place like a real tooth root. It typically takes 3 to 6 months and is what allows an implant to function like a natural tooth for decades.
This is the longest part of the whole process, and also the most important. A fully integrated implant can last decades. Rushing it can compromise the outcome.
During healing, here’s what to expect:
- A temporary tooth or flipper may be provided so you’re not walking around with a gap
- Your diet progresses from liquids the first day or two, to soft foods for the first couple of weeks, back to normal eating as you feel ready
- Gentle brushing around the site, plus any rinses your dentist recommends
- Regular check-ins to make sure everything is fusing well
Warning signs to call about:
- Discomfort that worsens after the first week
- Swelling that doesn’t resolve
- A loose or wobbly implant post
- Fever or unusual drainage
The waiting phase can test your patience. Try to think of it as the invisible work your body is doing to give you a tooth that will last. Most days, you’ll forget the implant is even there.
Step 5: Abutment Placement
Once your implant has fully fused to the bone, it’s time to attach the connector piece that will hold your new crown.
What is a dental implant abutment?
An abutment is a small piece, usually titanium or zirconia, that screws into the implant post and sticks slightly above the gumline. It’s the link between the implant (below the gum) and the crown (above it).
This appointment is short, usually 30 to 60 minutes, and only requires local anesthesia. Your dentist reopens the gum tissue, attaches the abutment, and shapes the surrounding gum so it heals into a natural-looking collar around the new tooth.
Expect a 2 to 3 week healing period for the gums to settle. During this time, impressions or digital scans are taken to design your custom crown. Recovery is typically mild, much lighter than the placement surgery, with just some tenderness for a few days.
Step 6: Final Crown Placement
After months of healing, your permanent crown is ready, and it’s time to complete your smile.
Your crown will be made from porcelain, zirconia, or a combination, chosen for strength and a natural appearance. The shade is matched to your surrounding teeth so it blends in beautifully.
At the appointment, your dentist will:
- Try in the crown and check the fit
- Adjust your bite so everything feels balanced
- Either cement the crown in place or secure it with a small screw hidden inside the tooth
Most crown placements take 30 to 60 minutes, and there’s no recovery time. You can eat and speak normally the same day. When you run your tongue along it, the implant feels like a natural tooth. When you smile in the mirror, it looks like one, too.
For many of our Glenview patients, this is the moment the whole experience clicks. The wait, the visits, and the healing all lead to a replacement tooth you can chew, smile, and speak with confidently for years to come.

Implant Surgery Recovery Tips and Long-Term Aftercare
Healing well is mostly about following a few simple habits. Here’s what helps most.
First 24 to 72 hours:
- Apply ice packs in 20-minute intervals to reduce swelling
- Stick to cool, soft foods like yogurt, smoothies, and mashed potatoes
- Take any prescribed medications as directed
- Rest, and avoid strenuous activity
- Don’t rinse forcefully or use straws
Oral hygiene around the implant site:
- Brush gently with a soft-bristled toothbrush
- Use any prescribed antimicrobial rinse
- Once healed, floss daily, including around the implant
- Consider a water flosser for extra cleaning
Foods to avoid during recovery:
- Crunchy foods (chips, nuts, popcorn) for the first few weeks
- Sticky foods (caramel, taffy)
- Very hot foods and drinks in the first 48 hours
- Alcohol while healing
Long-term care:
- Brush twice a day and floss daily
- Wear a night guard if you grind your teeth
- Keep your regular cleaning and exam visits
- Avoid using teeth as tools (opening packages, etc.)
With proper care, dental implants have very high long-term success rates. The American Academy of Implant Dentistry reports success rates of [CONFIRM STATISTIC BEFORE PUBLISHING — number was missing from the draft] when implants are placed and maintained properly.
Complete Dental Implant Timeline at a Glance
Here’s the full process compressed into a scannable view.
| Timeframe | What’s Happening |
|---|---|
| Month 0 | Consultation, imaging, treatment planning |
| Months 0 to 6 | Extractions and bone grafting, if needed |
| Months 3 to 9 | Implant placement surgery and osseointegration |
| Months 6 to 10 | Abutment placement and final crown |
Total range: About 3 months for straightforward cases, up to 12 months when preparatory work is needed. Complex cases may extend further. Your dentist will give you a personalized timeline at the consultation.
Frequently Asked Questions About the Dental Implant Process
How long does the dental implant process take?
Most patients complete the process in 3 to 9 months. Straightforward single-implant cases can be finished in about 3 to 4 months, while cases involving bone grafting or multiple implants may take 9 to 12 months. The healing phases account for most of the timeline.
Is getting a dental implant uncomfortable?
Modern anesthesia and sedation keep the actual procedure very comfortable. You’ll feel pressure but not sharp discomfort. Afterward, most patients describe recovery as milder than a tooth extraction, easily managed with over-the-counter medication and a soft diet for a few days.
How many visits will I need?
A typical case involves 4 to 6 visits: consultation, implant placement, one or two healing checks, abutment placement, and crown delivery. If bone grafting or extractions are needed first, plan on 1 to 2 additional visits.
What can I eat after implant surgery?
Start with cool, soft foods like yogurt, smoothies, applesauce, mashed potatoes, and scrambled eggs for the first few days. Gradually add soft warm foods like pasta and fish. Avoid crunchy, sticky, and very hot foods until your dentist gives you the go-ahead.
What is the success rate of dental implants?
Dental implants have long been recognized by the American Dental Association and American Academy of Implant Dentistry as a highly successful tooth replacement option, especially when patients maintain good oral hygiene and attend regular checkups. Individual results depend on bone health, medical conditions, and aftercare.

Ready to Learn More About Dental Implants?
Every smile is different, and the best way to know what your specific implant experience will look like is a personalized consultation. A qualified implant dentist will look at your bone structure, gum health, medical history, and goals to design a plan that fits you.
When choosing a provider, look for:
- Advanced training and experience with implant placement
- Modern imaging technology like 3D CBCT scans
- Sedation options for a comfortable experience
- Clear conversations about cost, financing, and timelines
If you’d like to explore dental implants in Glenview, the team at Gallery Park Family and Pediatric Dentistry is here to help. Our Glenview dentists will walk you through your options, answer every question, and talk through payment plans and our membership plan so cost never stands in the way of a healthy smile. Reach out to Gallery Park Family and Pediatric Dentistry when you’re ready to take the next step.